【注意】最后更新于 March 30, 2019,文中内容可能已过时,请谨慎使用。
本文介绍 Laravel 5.7 框架集成 jwt 操作指南,在官方的 {% link wiki https://github.com/tymondesigns/jwt-auth/wiki/Installation[external] [wiki] %} 中也有介绍,是使用的0.5.*版本,本文使用的jwt-auth是1.0.0-rc.3版本,切记使用此扩展包的版本不同,集成也会稍有不同,否则你会得到意想不到的问题,根据自己 laravel版本不同使用jwt-auth版本建议如下:
| Laravel version | jwt-auth version |
|---|
4.* | 0.3.* 0.4.* |
5.* && <5.5 | 0.5.* |
5.* | 1.0.* |
安装扩展包 jwt-auth
将扩展包添加到composer.json,添加如下代码
1
2
3
4
| “require”: {
...
“tymon/jwt-auth”: “1.0.0-rc.3”
}
|
然后通过命令更新Composer命令如下
设置配置
创建jwt secret秘钥
tip:会在 .env 末尾行追加一行配置记录JWT_SECRET=xxxxxx
发布 jwt 配置文件
1
| php artisan vendor:publish --provider="Tymon\JWTAuth\Providers\LaravelServiceProvider"
|
tip:会在项目的config目录中新增一个jwt.php的配置文件
添加到服务提供者
打开config/app.php并在aliases数组中添加以下行
1
2
| 'JWTAuth' => Tymon\JWTAuth\Facades\JWTAuth::class,
'JWTFactory' => Tymon\JWTAuth\Facades\JWTFactory::class,
|
添加到中间件
打开app/Http/Kernel.php,然后在$routeMiddleware中添加以下行
1
2
| 'jwt.auth' => \Tymon\JWTAuth\Http\Middleware\Authenticate::class,
'jwt.refresh' => \Tymon\JWTAuth\Http\Middleware\RefreshToken::class,
|
更新用户模型
打开User.php并为模型实现JWTSubject,代码如下:
1
2
| use Tymon\JWTAuth\Contracts\JWTSubject;
class User extends Authenticatable implements JWTSubject
|
并在模型中添加2个方法,添加如下代码
1
2
3
4
5
6
| public function getJWTIdentifier() {
return $this->getKey();
}
public function getJWTCustomClaims() {
return [];
}
|
更新配置文件 auth.php
打开config/auth.php并将 guards 中键为api的驱动(driver)改为jwt(默认为:token)代码如下:
1
2
3
4
5
6
7
| 'guards' => [
...
'api' => [
'driver' => 'jwt',
'provider' => 'users',
],
],
|
登录获取授权 Token
通过artisan创建AuthController控制器
1
| php artisan make:controller AuthController
|
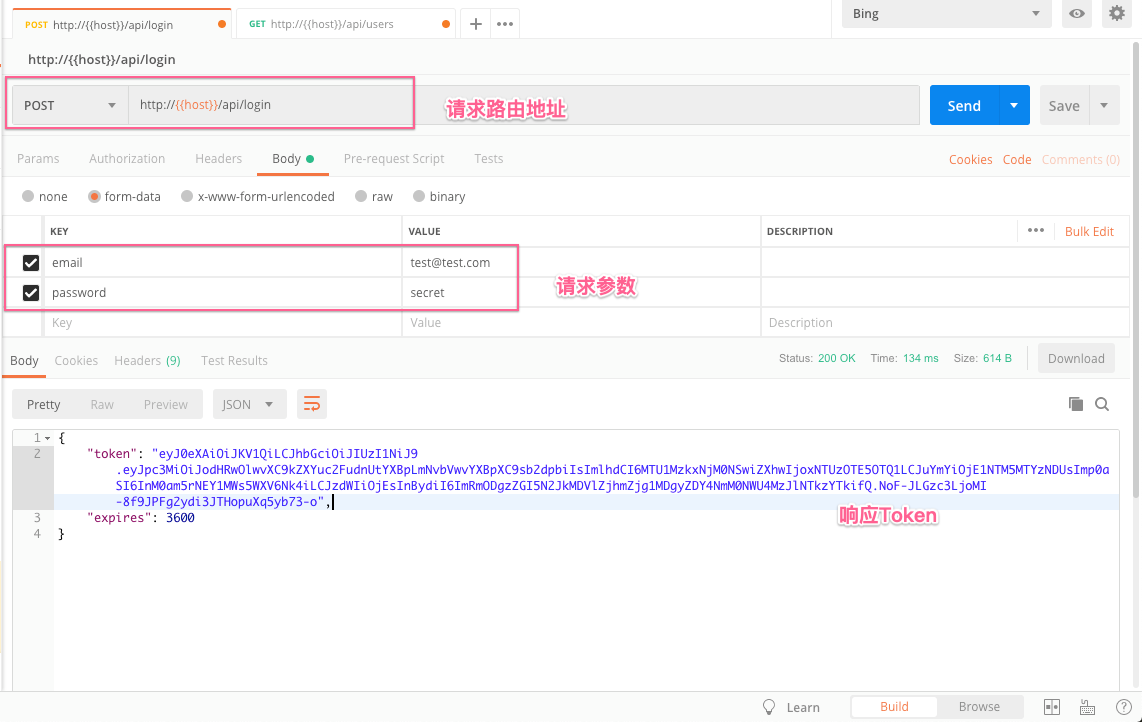
在控制器中AuthController添加如下登录获取Token的代码,
 1
 2
 3
 4
 5
 6
 7
 8
 9
10
| public function login() {
$credentials = request(['email', 'password']);
if (!$token = auth('api')->attempt($credentials)) {
return response()->json(['error' => 'Unauthorized'], 401);
}
return response()->json([
'token' => $token,
'expires' => auth('api')->factory()->getTTL() * 60,
]);
}
|
创建路由
打开路由文件routes/api.php,添加如下路由代码
1
| Route::post('login', 'AuthController@login');
|
添加一行测试数据email:test@test.com、password:secret,PostMan 测试截图如下:
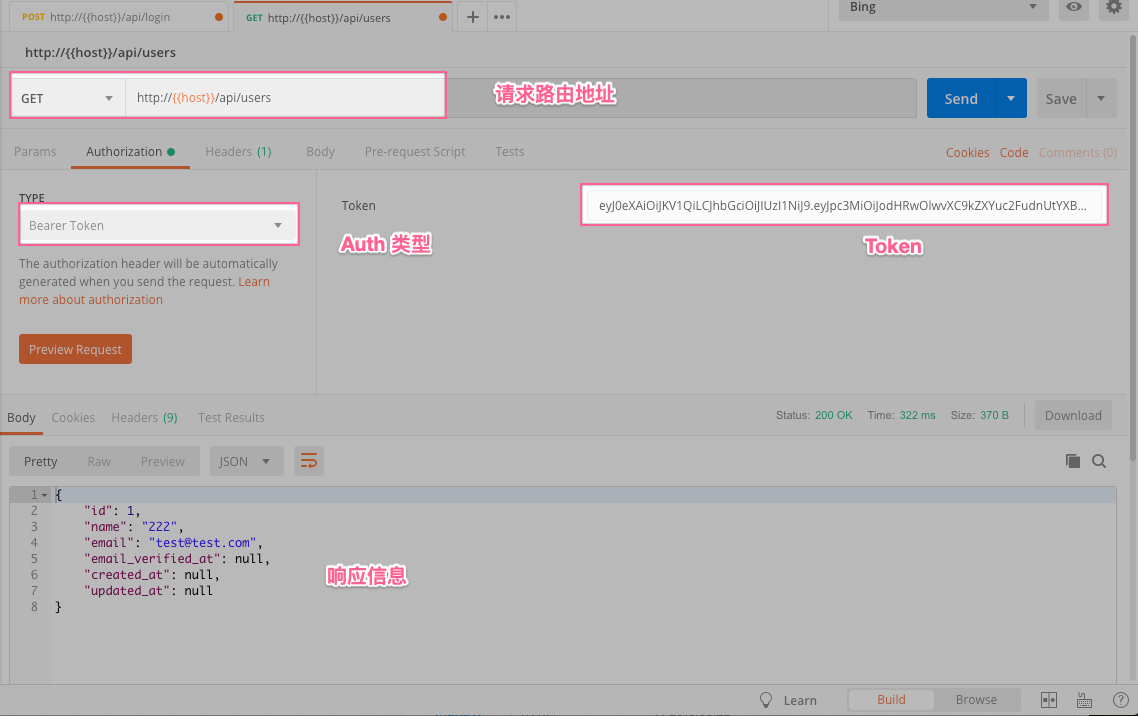
添加jwt.auth中间件,保护你的路由,事例代码如下:
1
2
3
| Route::middleware('jwt.auth')->get('users', function () {
return auth('api')->user();
});
|
添加Authorization: Bearer {token}到请求(header)头,PostMan 测试截图如下:
如果您想捕获异常
打开文件app/Exceptions/Handler.php在render方法开头使用如下代码
1
| use Symfony\Component\HttpKernel\Exception\UnauthorizedHttpException;
|
 1
 2
 3
 4
 5
 6
 7
 8
 9
10
11
12
13
14
15
16
| if ($exception instanceof UnauthorizedHttpException) {
$preException = $exception->getPrevious();
if ($preException instanceof
\Tymon\JWTAuth\Exceptions\TokenExpiredException) {
return response()->json(['error' => 'TOKEN_EXPIRED']);
} else if ($preException instanceof
\Tymon\JWTAuth\Exceptions\TokenInvalidException) {
return response()->json(['error' => 'TOKEN_INVALID']);
} else if ($preException instanceof
\Tymon\JWTAuth\Exceptions\TokenBlacklistedException) {
return response()->json(['error' => 'TOKEN_BLACKLISTED']);
}
if ($exception->getMessage() === 'Token not provided') {
return response()->json(['error' => 'Token not provided']);
}
}
|
参考资料
End :)
